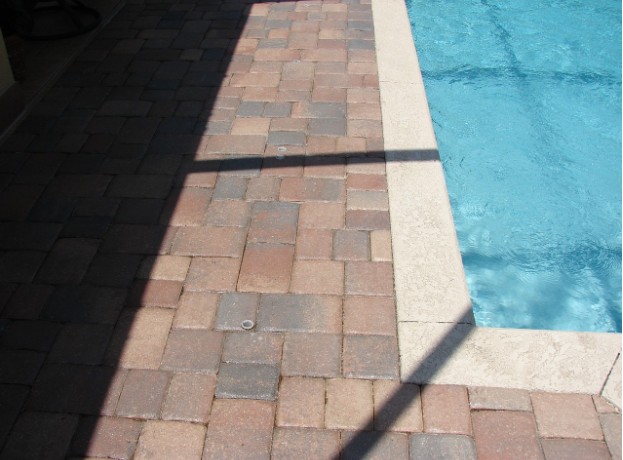
Creating your own outdoor space with pavers can be both an enjoyable and rewarding project. With the right tips and tricks, you can transform a plain area into a stunning patio or walkway that enhances your home’s curb appeal. The key is to prepare adequately, choose the right materials, and execute the installation with precision. Let’s delve into the essential steps to ensure your DIY paver installation is a success.

Planning Your Paver Project
Before diving into your DIY project, careful planning is crucial. You’ll want to determine the area you plan to cover with pavers and consider the overall design aesthetic. Sketching an outline of the space can help visualize the layout and ensure everything fits correctly. Consider the type of paver you wish to use. There are various materials available, such as concrete, brick, and natural stone, each offering distinct benefits and aesthetics. Researching these options in advance will help you make an informed choice based on your budget and desired look. To ensure a proper fit, assessing the stability of the underlying ground is vital. Uneven or unstable surfaces can lead to an installation that shifts and settles over time. You may need to dig down several inches and add a base layer of gravel or sand for optimal support.
Calculating Materials
Once you have a clear plan, the next step is determining the amount of materials needed for your project. This includes not just the pavers themselves, but also the base materials, paver sand, and any edging materials. Using a paver sand calculator can significantly simplify this process by allowing you to input your project dimensions and offer precise measurements of needed materials. Calculating for your specific area will help you avoid overbuying or underestimating the materials needed. Remember to account for cuts and waste by adding approximately 10 percent to your total material needs. Having everything ready before starting your project will make the installation process much smoother and more efficient.
Preparing the Site
Preparation is arguably the most critical phase of laying pavers. Start by marking out the area clearly according to your design. Use stakes and string to outline your layout. This will ensure you have a straight edge to work against and help avoid misalignment during installation. Next, you should remove any grass, weeds, or debris from the marked area. For best results, a digging depth of around six to eight inches is recommended, allowing for a solid base layer. Once clear, you can compact the soil and begin laying down a layer of gravel to promote drainage and stability, which is essential for preventing future settling and shifting.
Choosing the Right Base Material
The base layer plays a pivotal role in the durability and longevity of your paver installation. A typical installation generally requires about three-fourths of an inch of crushed stone to create a solid foundation. This layer should be evenly distributed and compacted to ensure a strong support for the pavers above. Using the right type of paver base material is also important. Crushed stone, limestone, or a mix designed specifically for a paver base can offer excellent compaction and drainage. Each material has its pros and cons, so consider factors such as local availability and cost when making your choice.
Installation Techniques
When it’s time to lay down your pavers, there are several techniques to ensure proper installation. Most professionals recommend starting from a corner or edge and working outward. This allows for a more controlled layout and helps maintain alignment better. Utilizing a rubber mallet can aid in placing the pavers firmly in position without risking breakage or damage. Additionally, keeping gaps consistent is important; use spacers where necessary to ensure even spacing throughout your project. Hitting each paver gently but firmly with the mallet will also help ensure a secure fit. While placing the pavers, regularly step back and check that everything is aligned and leveled for a visually appealing result.

Finishing Touches
Once you’ve installed the pavers, there are a few finishing touches to enhance both aesthetics and longevity. Begin by ensuring that all pavers are level. Any uneven spots should be adjusted before proceeding further. Next, add a layer of sand over the surface, brushing it into the gaps to secure the pavers together firmly. This stabilizes the structure and deters weeds since the sand fills any available spaces. Once you’ve filled the gaps adequately, spraying the area lightly with water helps settle the sand into place.
Maintaining Your DIY Pavers
Caring for your paver installation is essential for the long-term health of your outdoor space. Regular maintenance, including cleaning debris and weeds, will help you maintain an inviting appearance. Periodically check for any shifting or settling of the pavers and make adjustments as needed. Should you notice any stains, a mix of mild detergent and water will typically do the trick. For deeper stains, consider using a pressure washer. However, take care to follow guidelines to avoid damaging the pavers or loosening the sand joints.
Installing pavers can be a gratifying project that enhances your home’s exterior. With careful planning, material calculations, and attention to detail during installation, you can create an outdoor oasis that will impress for years to come.


